Getting Started
Welcome to Tellus, your governance, risk, and compliance (GRC) workspace.
Welcome to Tellus, your governance, risk, and compliance (GRC) workspace. This guide walks you through your very first steps: signing in, getting your bearings on the Dashboard, finding your way around the left navigation sidebar, and using the account and notification tools that live around the edges of the screen. By the end you will know where everything is and how to move confidently through the app.
Sign in to Tellus
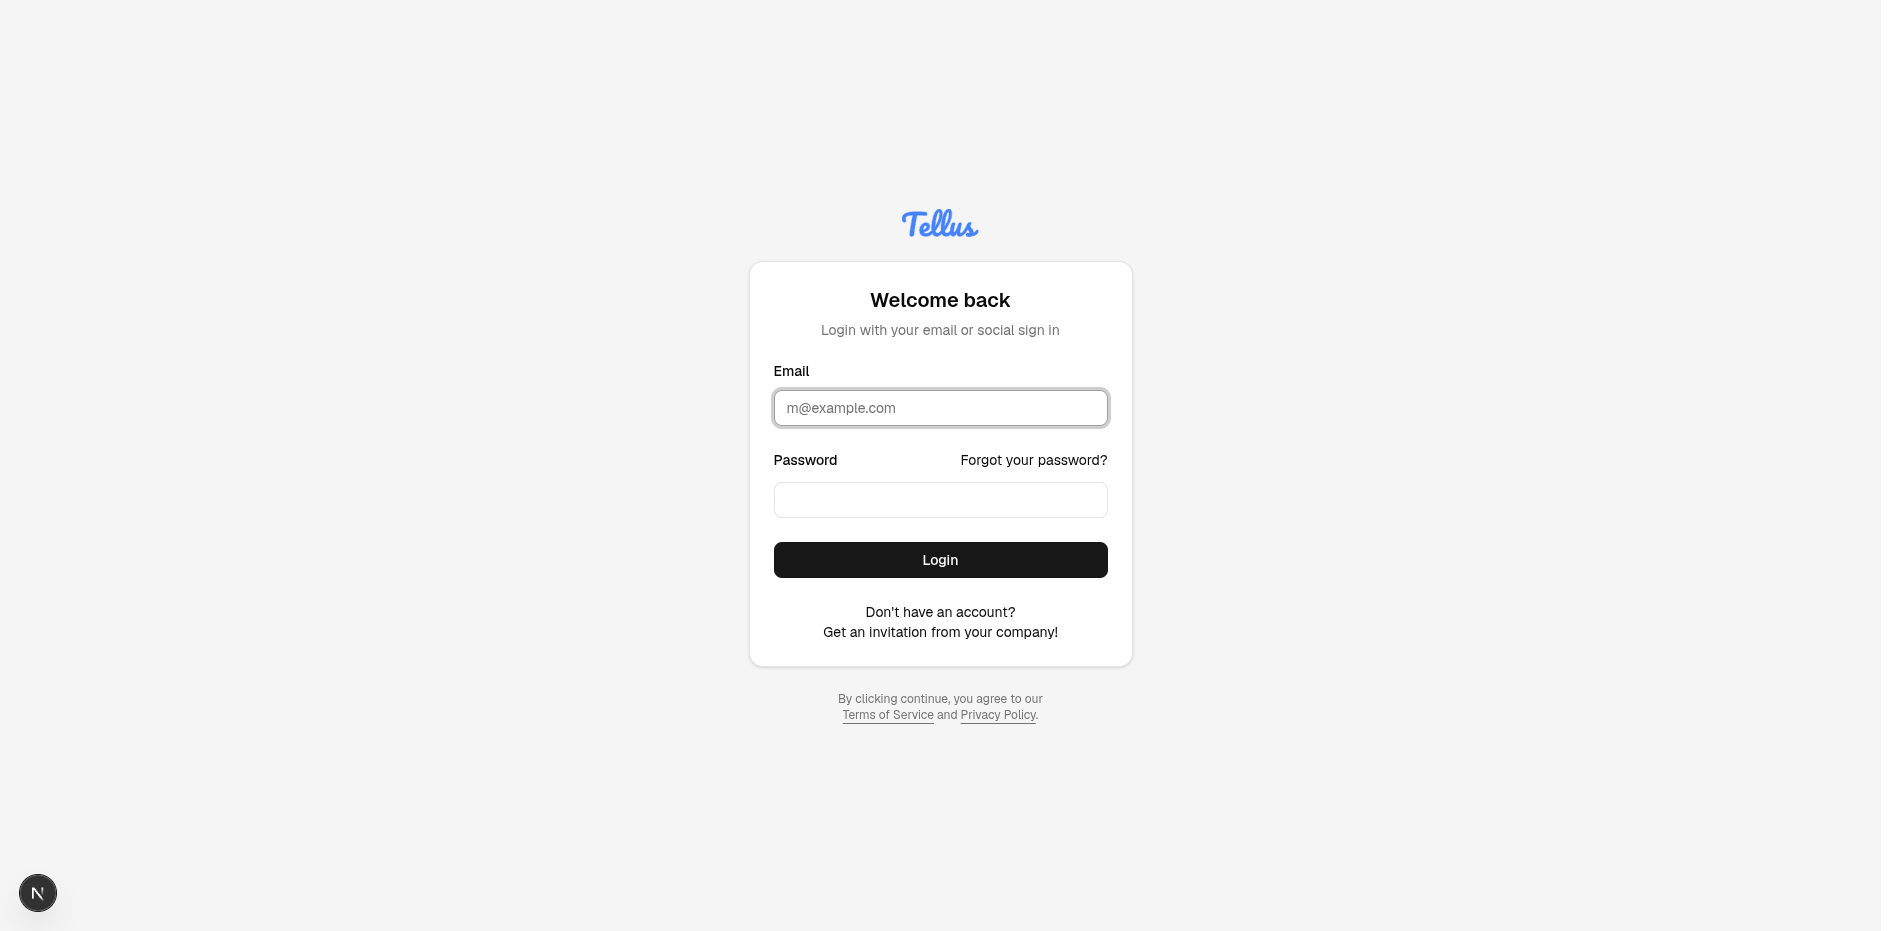
- Open your browser and go to https://tellus.application.alxias.se.
- If you are not already signed in, you will land on the login page. You will see the Tellus logo above a "Welcome back" panel.
- Type your work email into the Email field.
- Type your password into the Password field.
- Click the Login button.
If you ever forget your password, use the Forgot your password? link on this screen.
Tip: New users receive access through a company invitation rather than self-registration. If you do not have an account yet, ask your company to invite you.
Tellus addresses
The main app is one of four Tellus sites. Use the main app for your day-to-day work; the other three are external-facing portals you can point partners to.
| Site | Who it's for | Address |
|---|---|---|
| Main app | You and your colleagues | tellus.application.alxias.se |
| Supplier portal | Vendors answering your questionnaires | supplier.application.alxias.se |
| Vulnerability reporting | Security researchers reporting issues (CVD) | cvd.application.alxias.se |
| Trust portal | Anyone reviewing your security posture | trust.application.alxias.se |
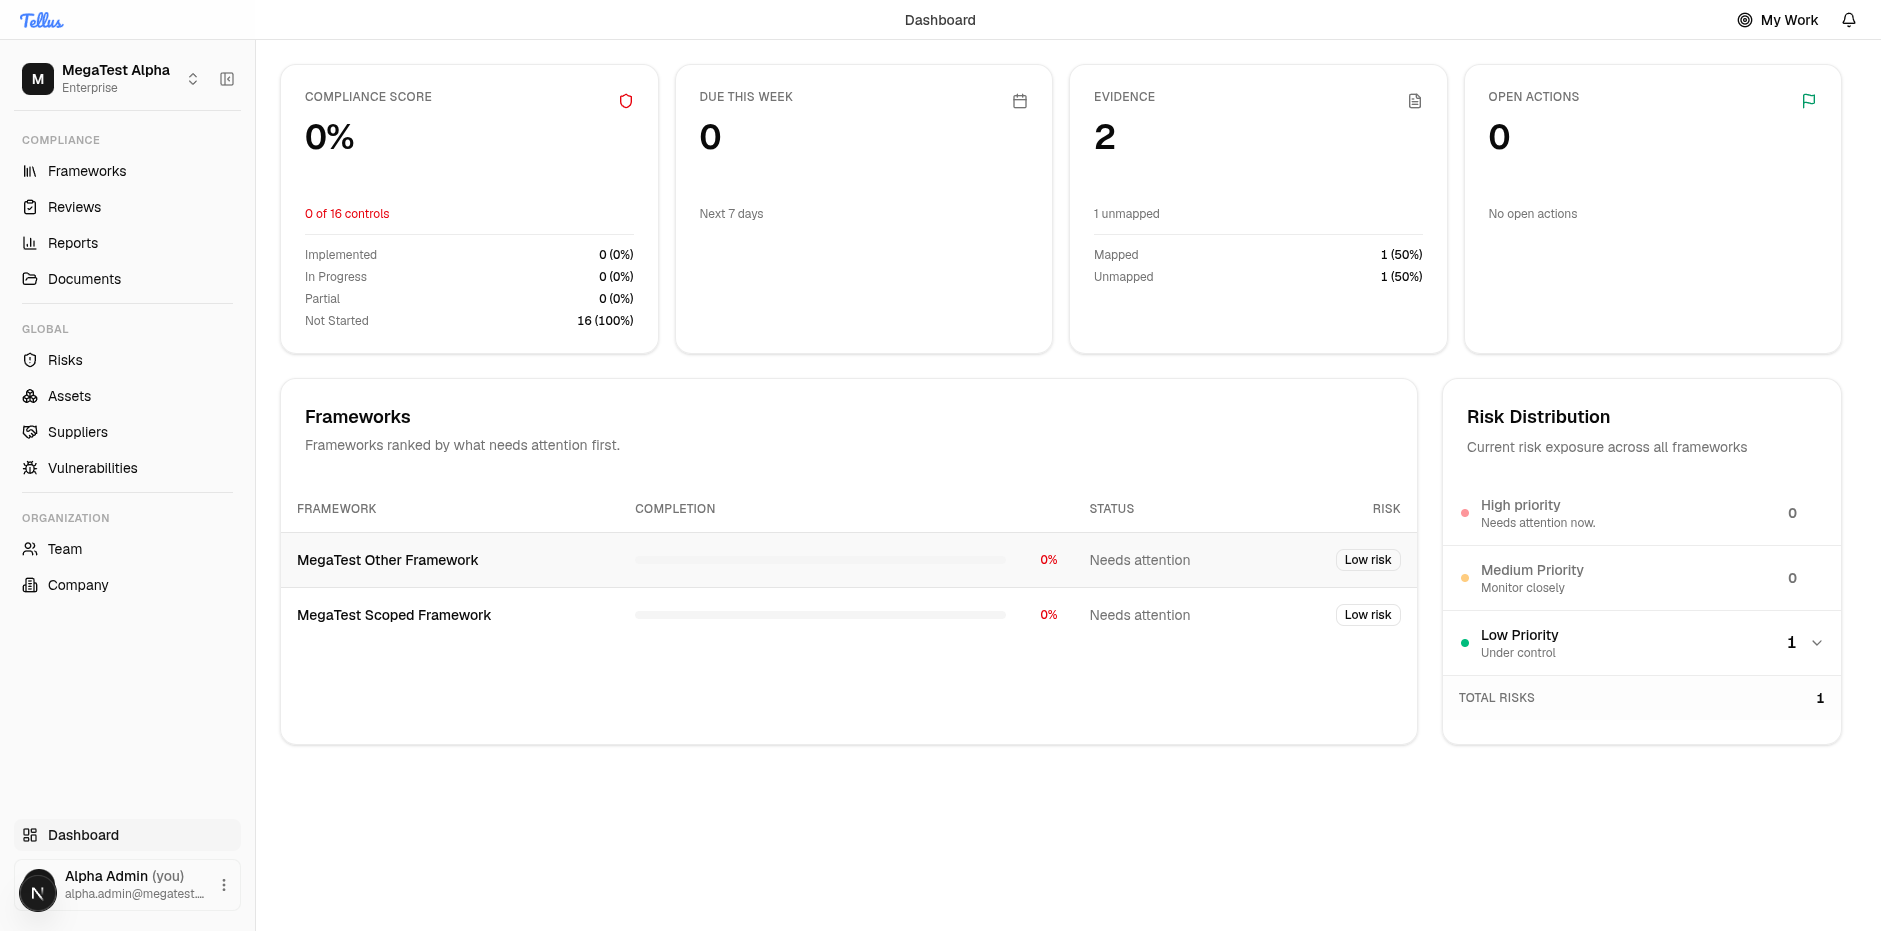
Get to know the Dashboard
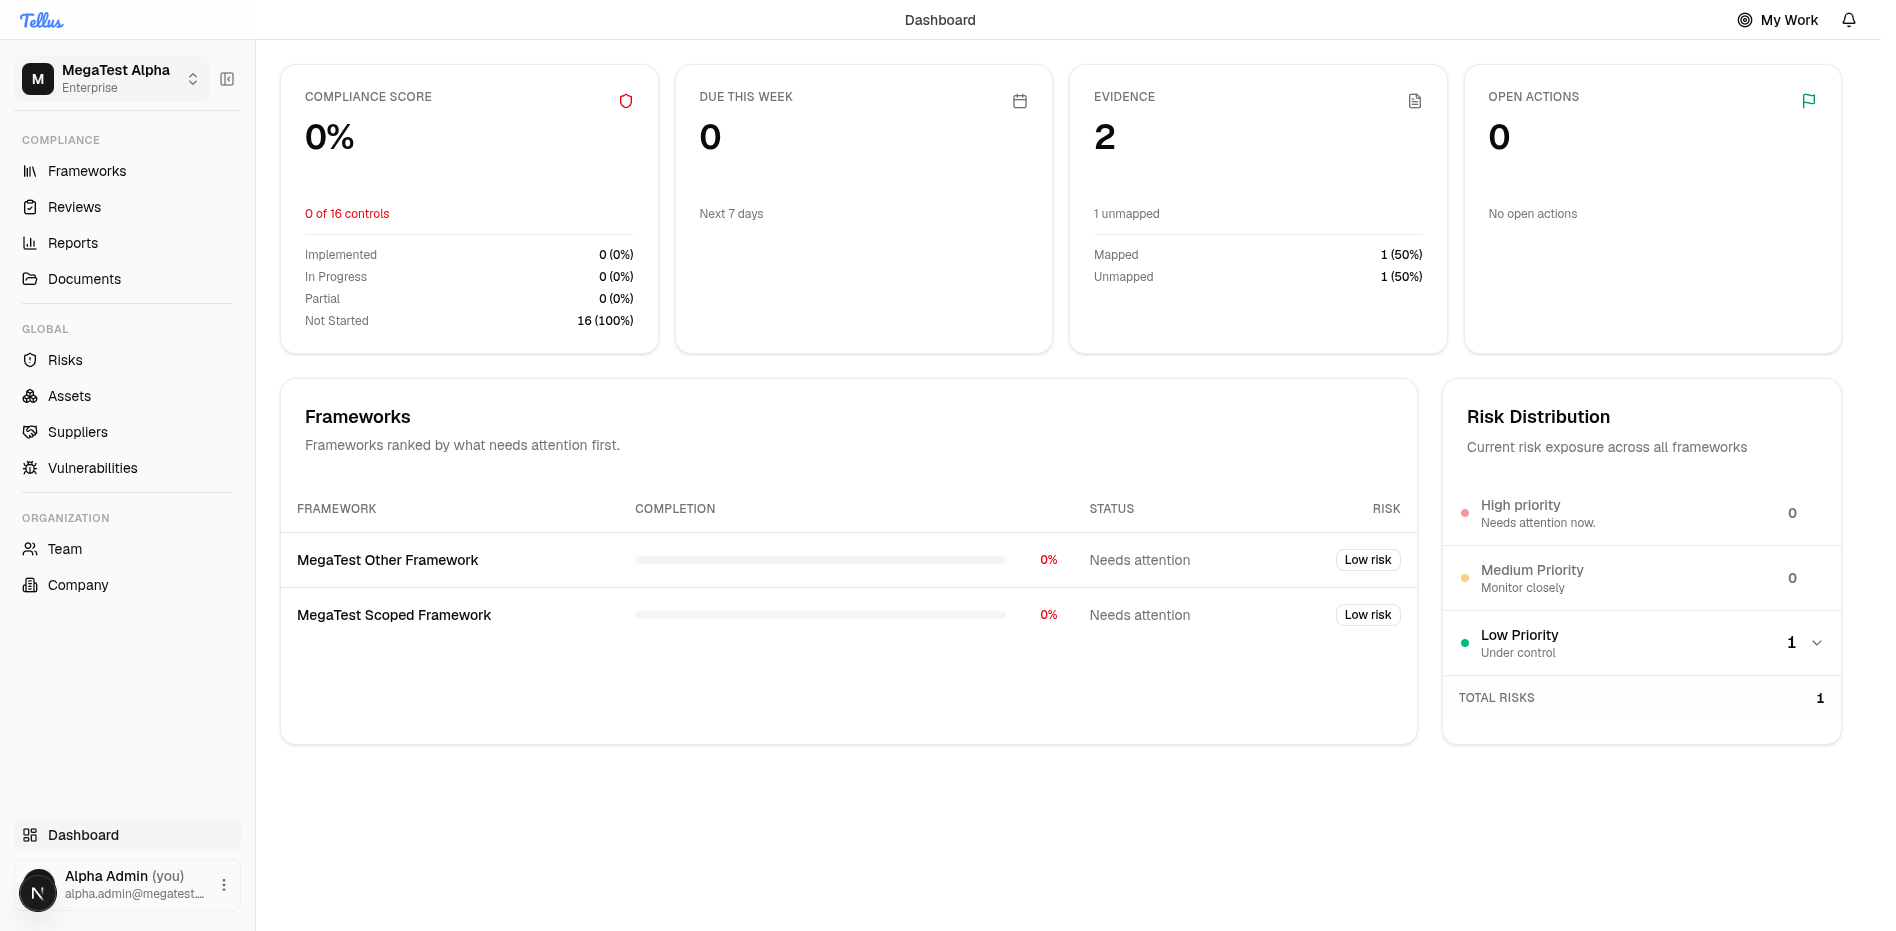
After signing in, you arrive at the Dashboard. This is your home base.
- Scan the four summary cards across the top: Compliance Score, Due This Week, Evidence, and Open Actions. Together they give you an at-a-glance health check of your compliance program.
- Review the Frameworks table below the cards, which ranks your frameworks by what needs attention. Click any row to jump straight into that framework.
- Check the Risk Distribution panel to see your risks broken down into High, Medium, and Low priority, so you know where your biggest exposures are.
Tip: You can return to the Dashboard any time by clicking Dashboard near the bottom of the sidebar.
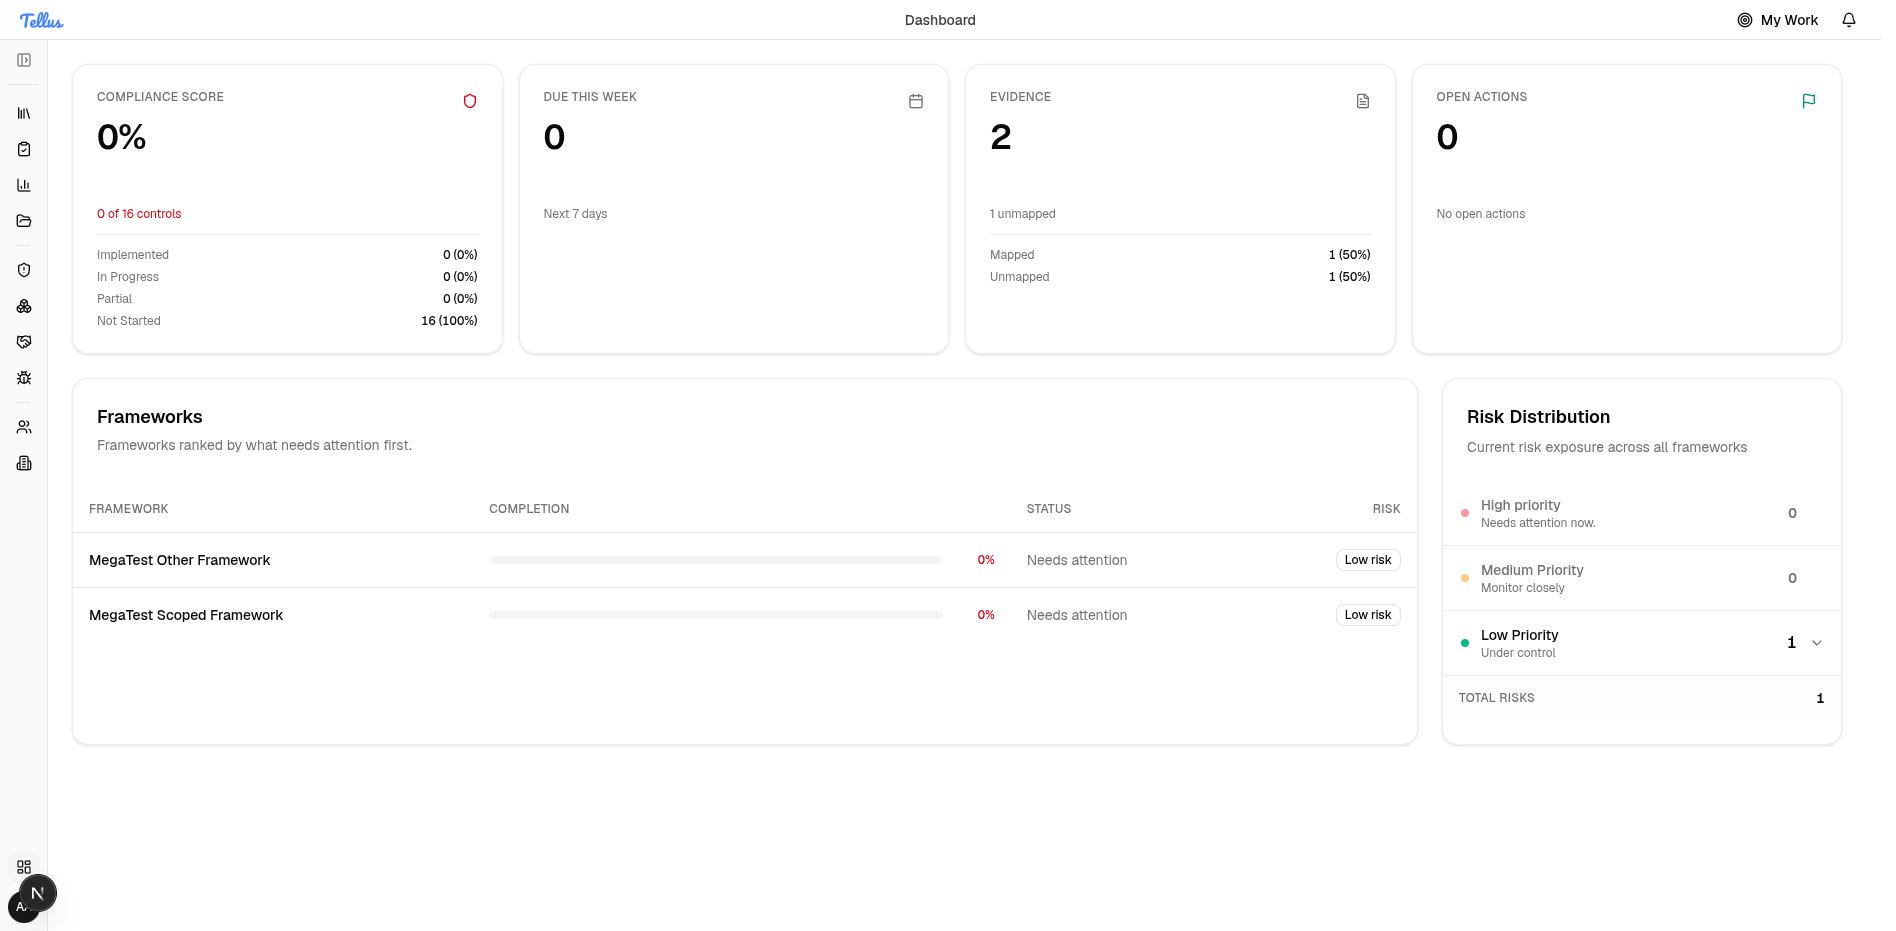
Collapse the sidebar to focus
If you want more room for your work, you can shrink the navigation to icons only.
- Find the collapse toggle at the top of the sidebar, next to the company name.
- Click it. The menu shrinks to a narrow strip of icons.
- Hover over any icon to confirm where it leads.
This is purely a personal view preference and does not change your access to anything.
Expand the sidebar to see all sections
The sidebar starts expanded by default. If you have collapsed it, you can bring back the full text labels at any time.
- Click the Expand sidebar toggle (the same button at the top of the strip).
- Use the labelled groups to find what you need:
- Compliance contains Frameworks, Reviews, Reports, and Documents.
- Global contains Risks, Assets, Suppliers, and Vulnerabilities.
- Organization contains Team and Company.
- Click any item to open that area. Dashboard sits at the bottom of the list.
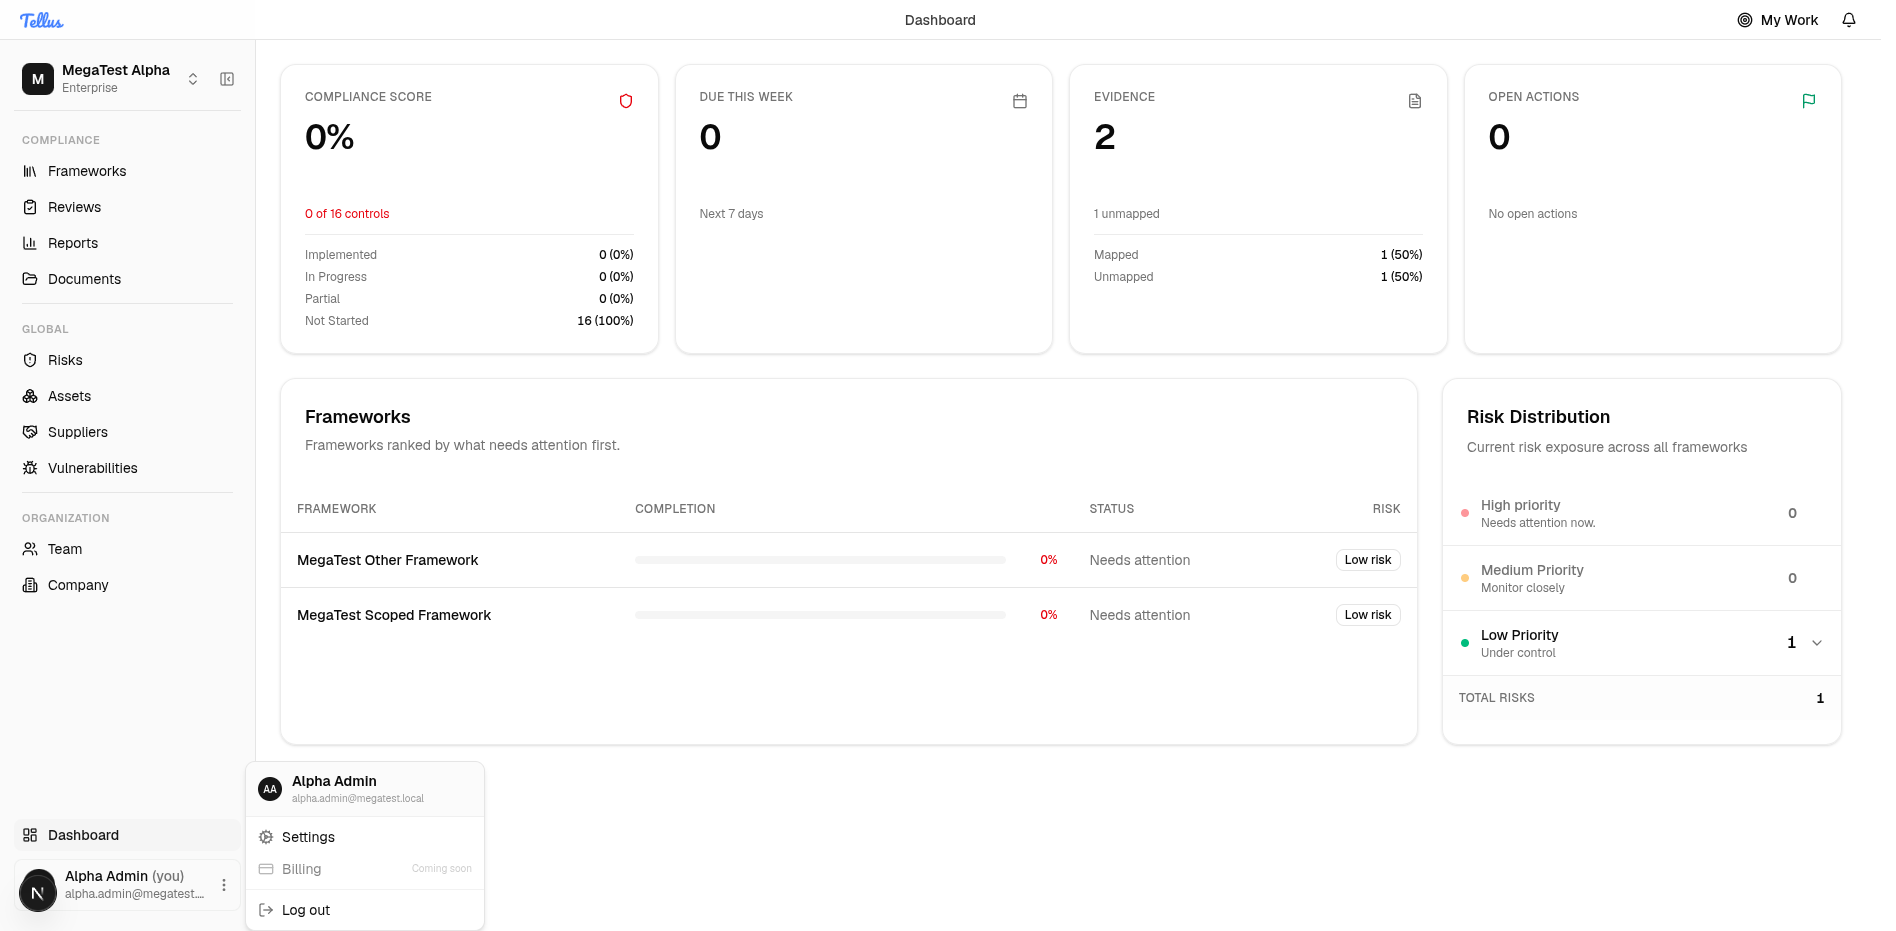
Open your account menu
Your account menu lives at the bottom-left of the sidebar.
- Click your name and avatar in the bottom-left corner. The menu opens with your name and email at the top.
- Choose Settings to manage your personal preferences.
- When you are finished working, choose Log out to securely end your session.
Tip: Billing is shown as "Coming soon" and is not yet available, so that option is disabled for now.
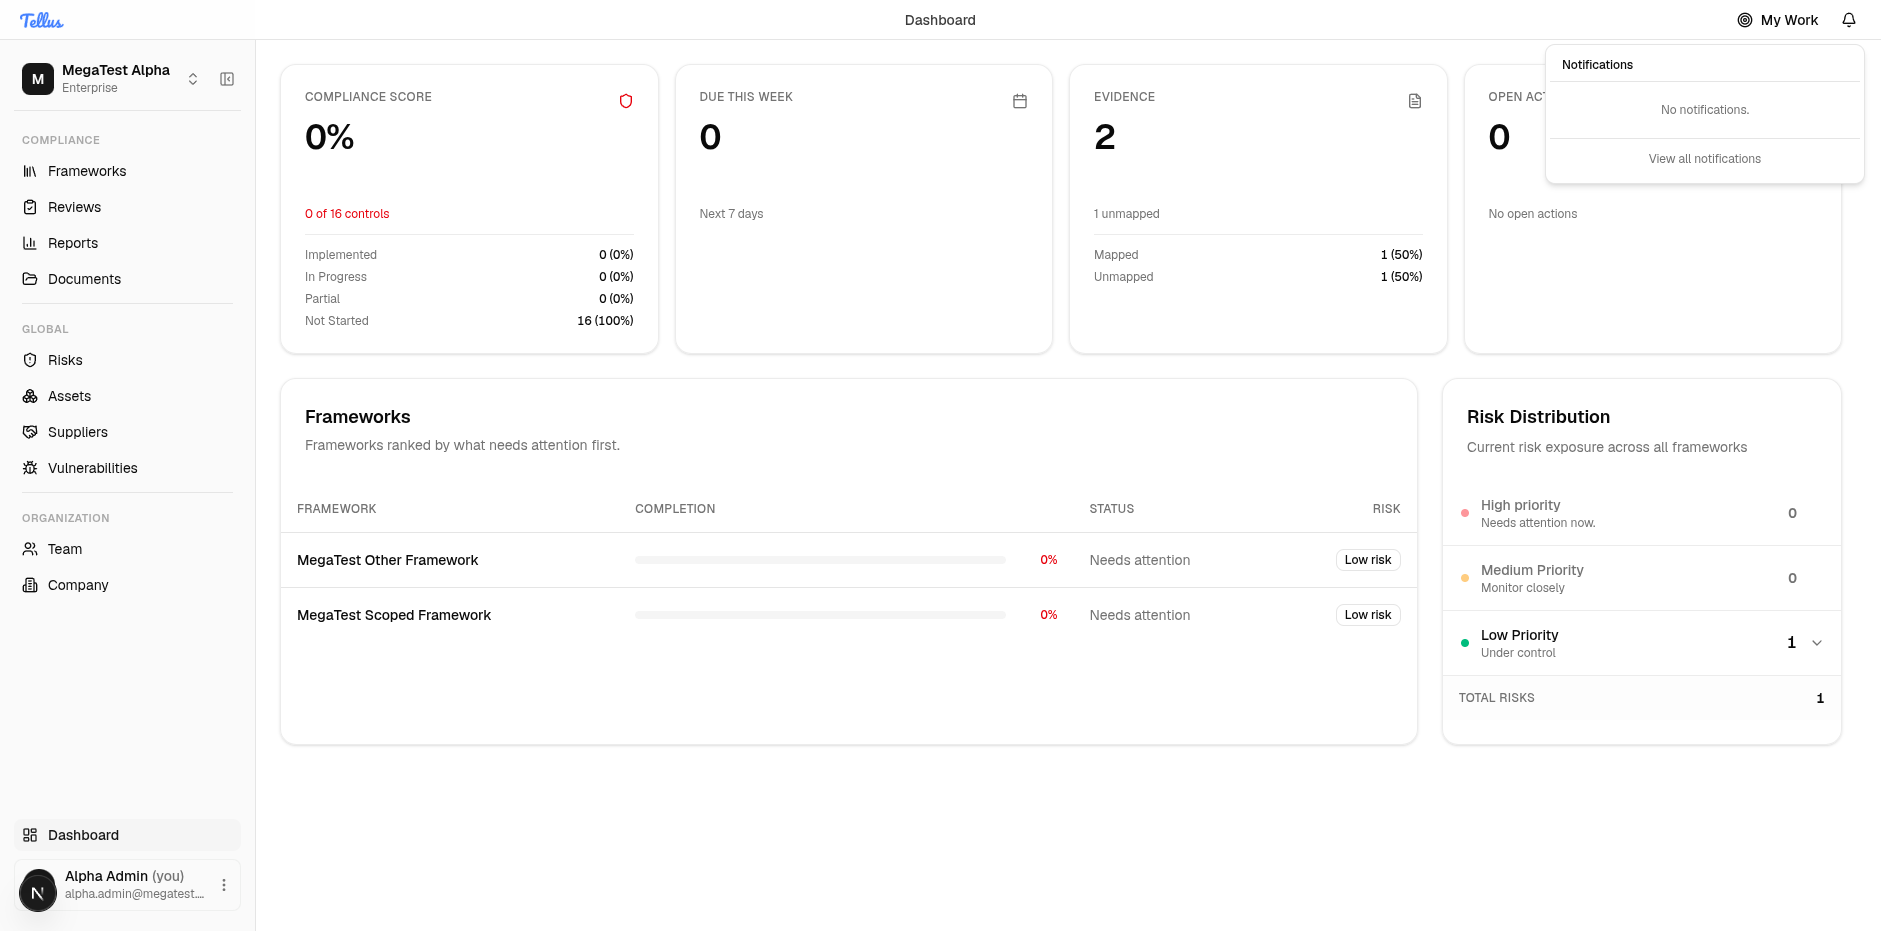
Check your notifications
The Notifications bell in the top-right of the header keeps you up to date.
- Click the Notifications bell in the top bar.
- A small panel titled "Notifications" opens, showing recent activity and alerts that need your attention.
- If there is nothing pending, the panel simply reads "No notifications."
- Click View all notifications to open the complete history.
Tip: Check here regularly to stay on top of tasks and updates assigned to you.
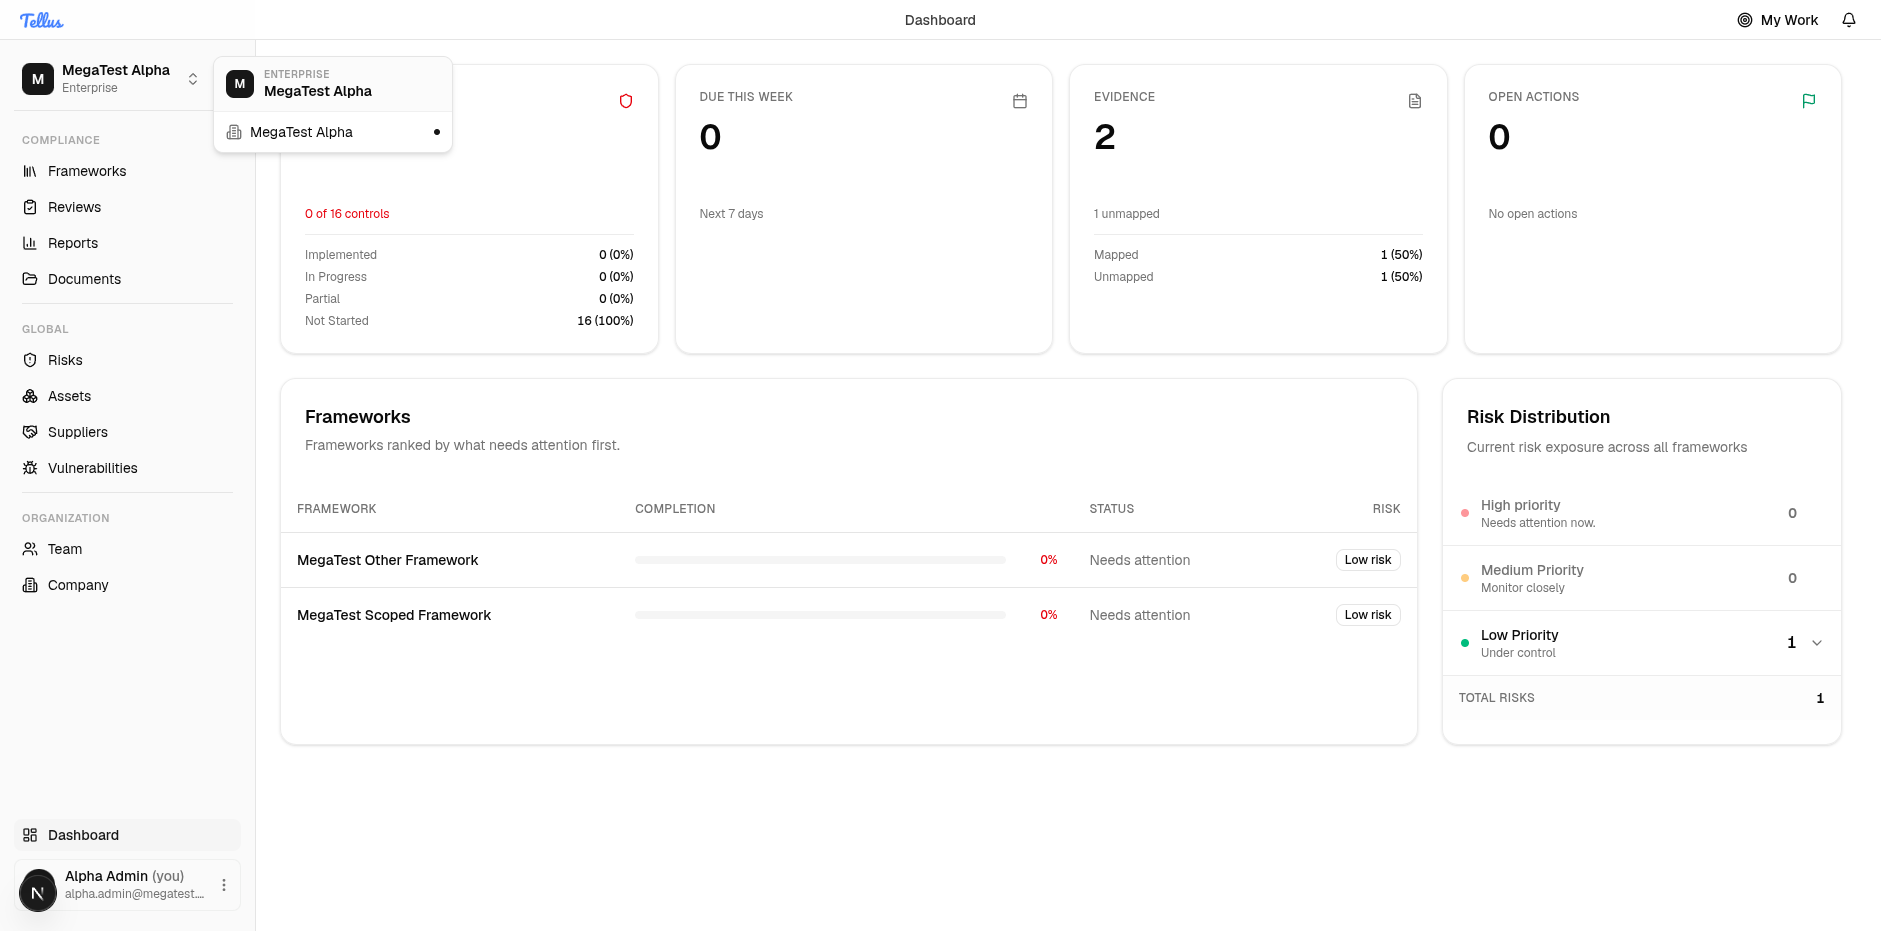
Switch or confirm your company
The company you are working in is shown at the top of the sidebar.
- Click the company name and its badge at the very top of the sidebar.
- A menu opens showing your plan and a list of companies you can access.
- If your account has access to more than one company, click another company to switch to it. Everything you view and edit applies only to the selected company.
If you belong to just one company, it will be the only entry shown.