Team & Company Settings
The Team and Company areas are where administrators manage who belongs to the organization and how the organization itself is configured.
The Team and Company areas are where administrators manage who belongs to the organization and how the organization itself is configured.
From Team you can see every member, review their access and security status, and invite new people. From Company Settings you can update the organization's profile and tune security policies such as multi-factor authentication, incident reporting, and vulnerability disclosure.
Both areas live under the Organization group in the left sidebar.
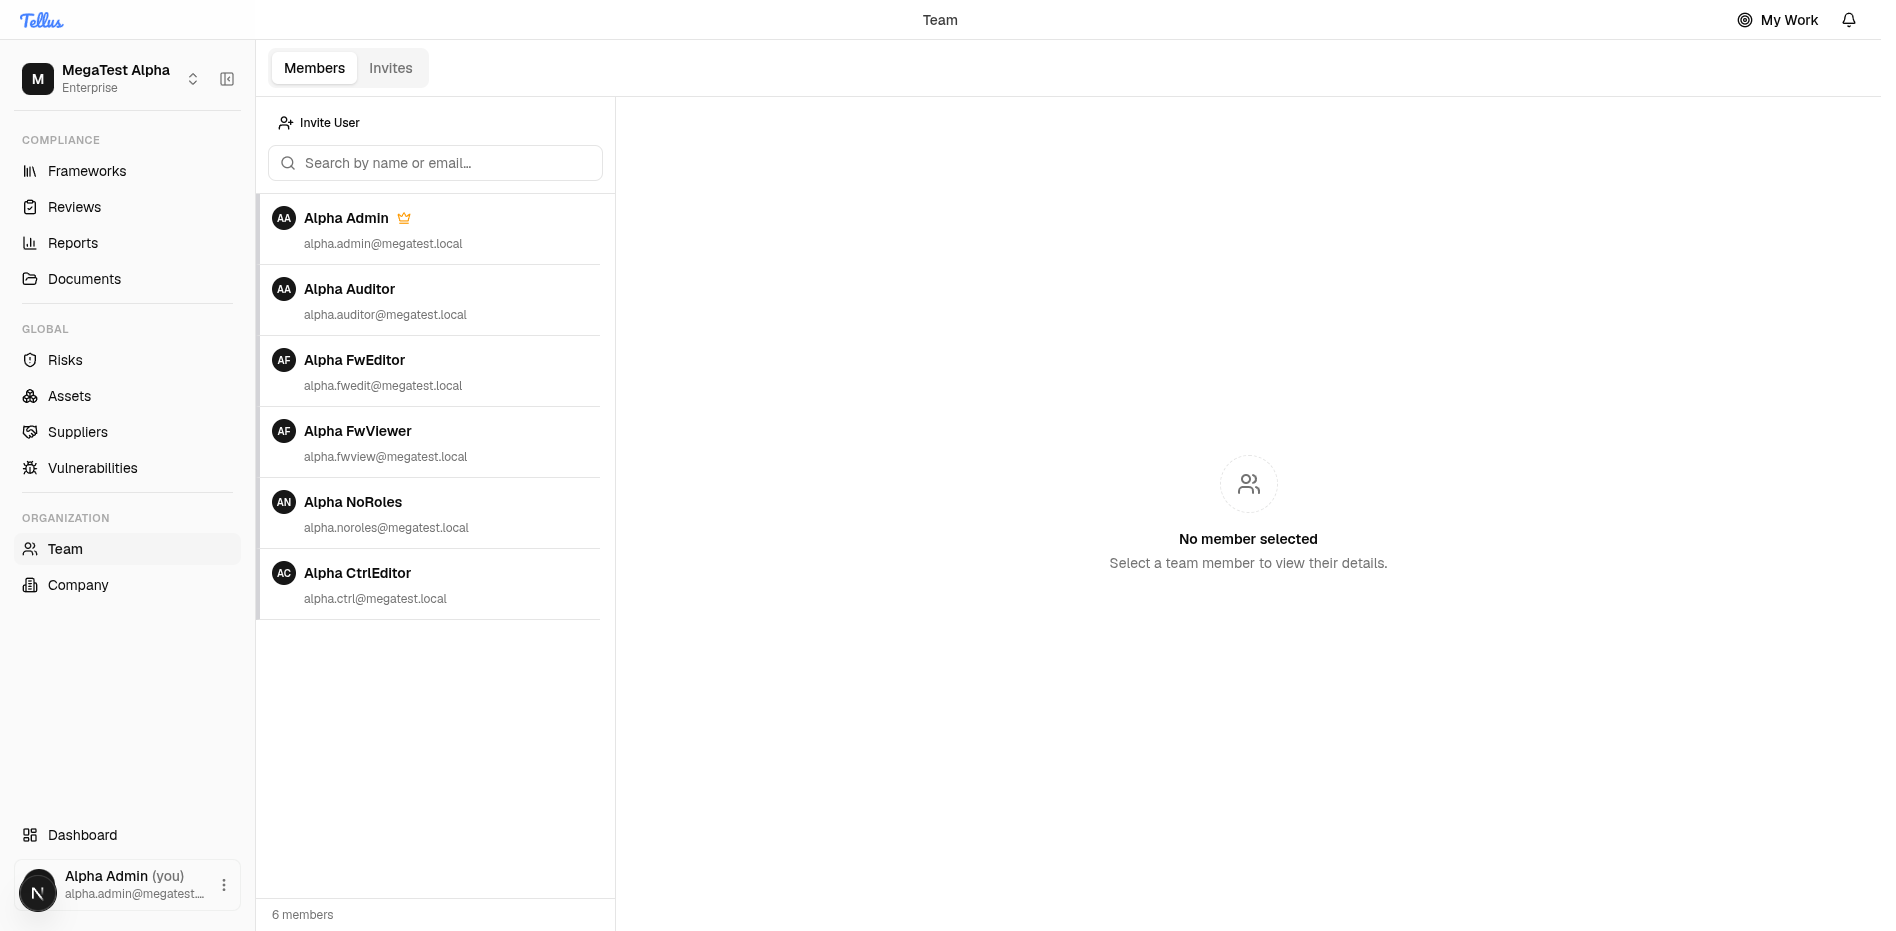
Open the team members list
- In the left sidebar, find the Organization group and click Team.
- The Members tab opens by default. It shows a list of everyone in the company on the left, with each person's initials, name, and email.
- To find a specific person, type their name or email into the Search by name or email… box to filter the list.
A footer below the list shows the total member count.
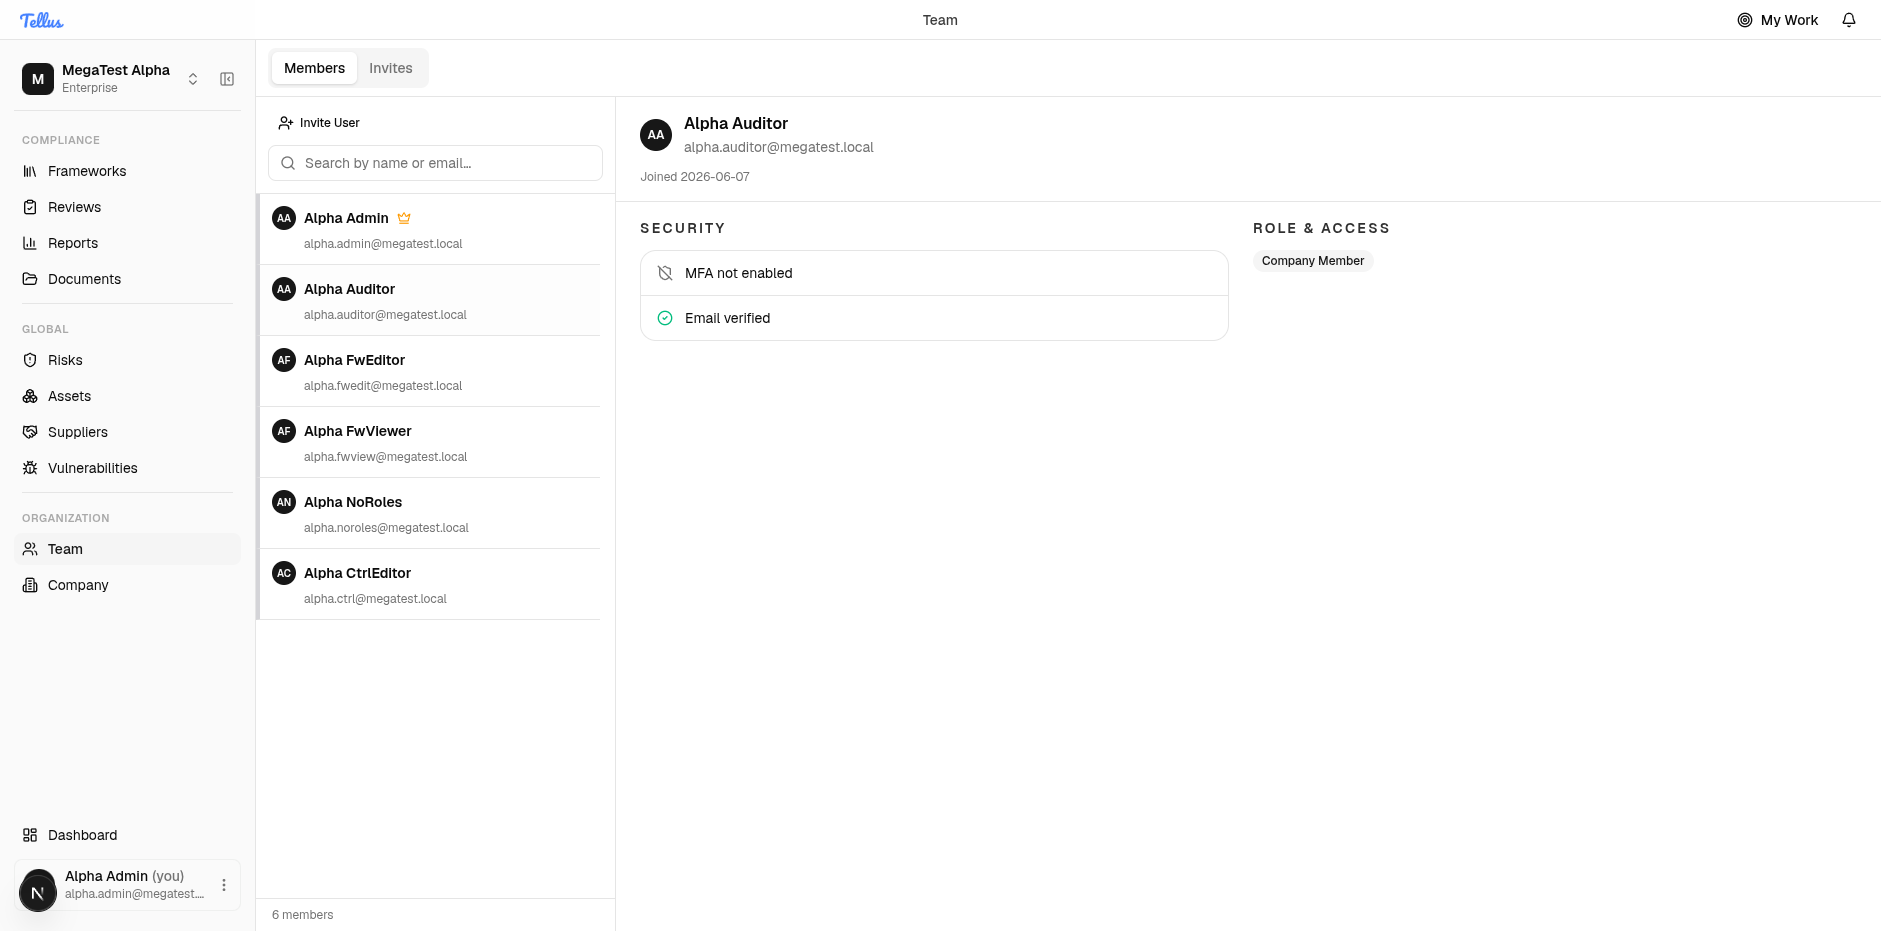
View a member's details
- Click any member in the left list to select them.
- Their profile appears on the right, showing their name, email, and join date.
- Check the Security section to see whether they have enabled multi-factor authentication (MFA) and whether their email is verified.
- Check the Role & Access section to see their company role.
Tip: Use this panel to quickly confirm a teammate's role or verify that their email and MFA are set up before granting them access to sensitive areas.
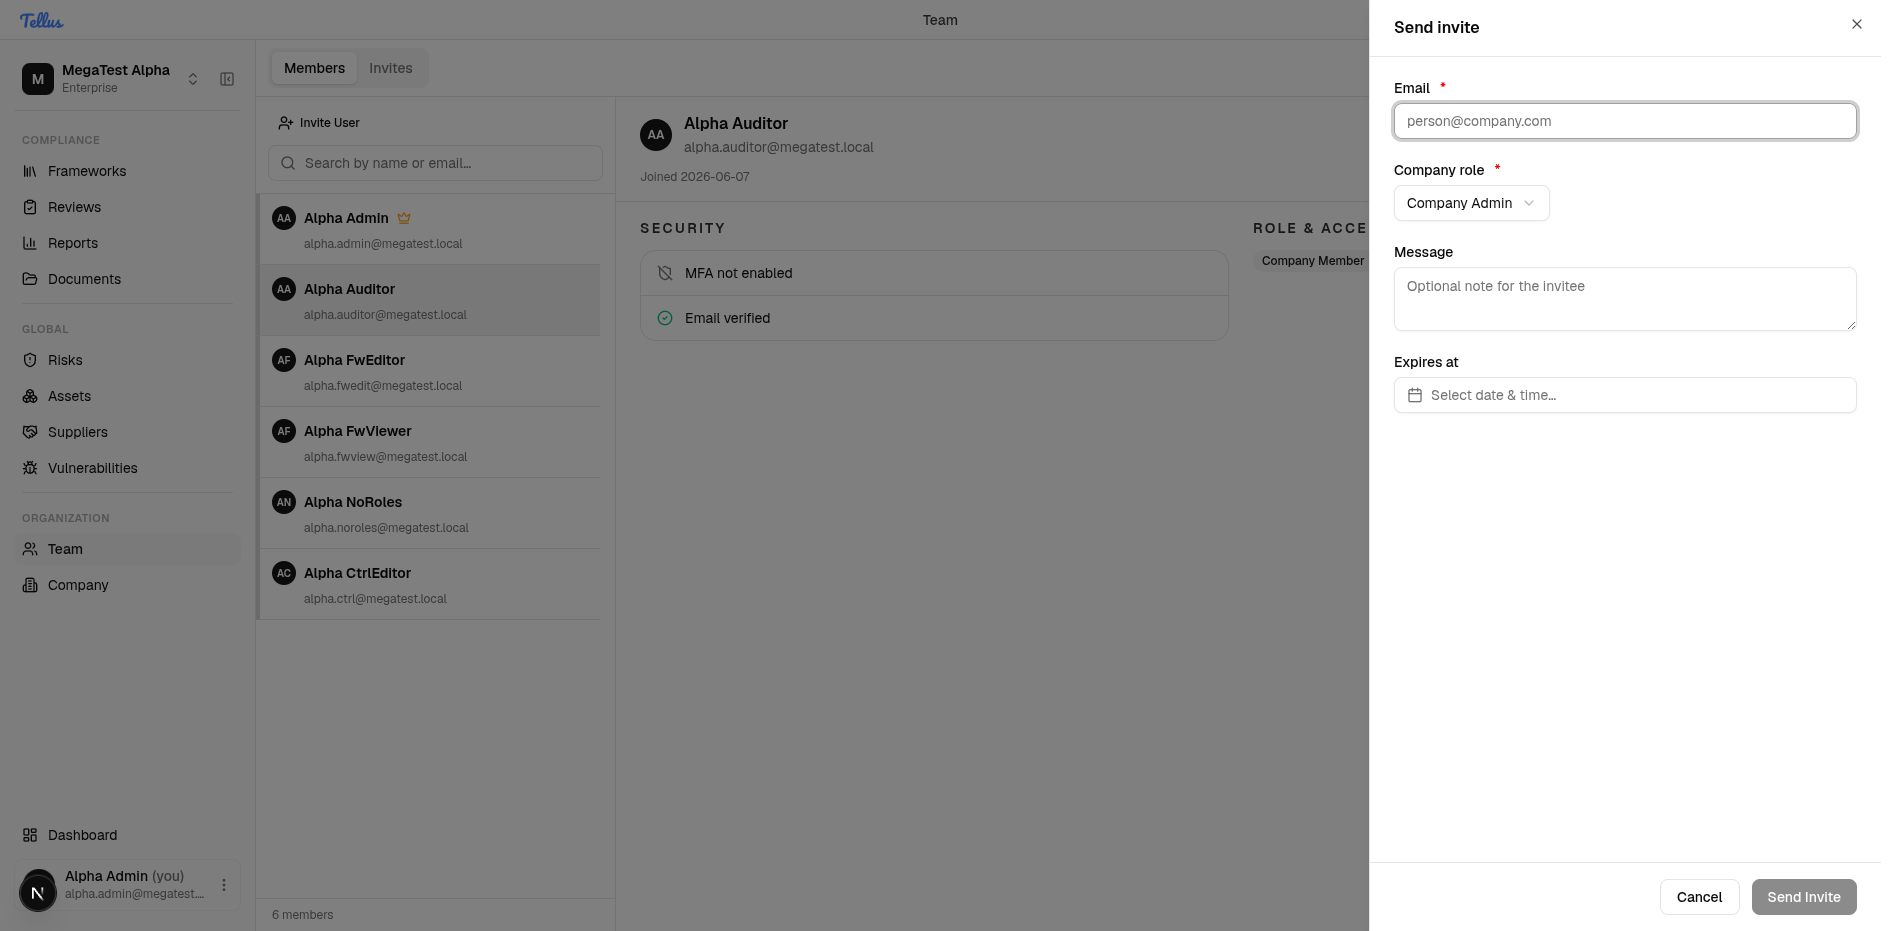
Invite a new member
- Click Invite User above the member list.
- In the Send invite dialog, enter the person's Email address (required).
- Choose the Company role they should receive from the dropdown (required). This defaults to Company Admin.
- Optionally add a Message note for the invitee.
- Optionally set an Expires at date and time for the invitation.
- When the required fields are complete, click Send Invite to email them an invitation.
Tip: The Send Invite button stays disabled until the email and company role are filled in, so you can't send an incomplete invitation by accident.
Track pending invitations
- Click the Invites tab at the top of the Team page.
- The table lists everyone you've invited who hasn't joined yet, with columns for Email, Status, Company role, Frameworks, Sent date, and Expires date.
- Use the Status filter or the search box to find a specific invitation.
- To invite another person, click Send invite.
If there are no outstanding invitations, you'll see an empty state with a Send invite shortcut.

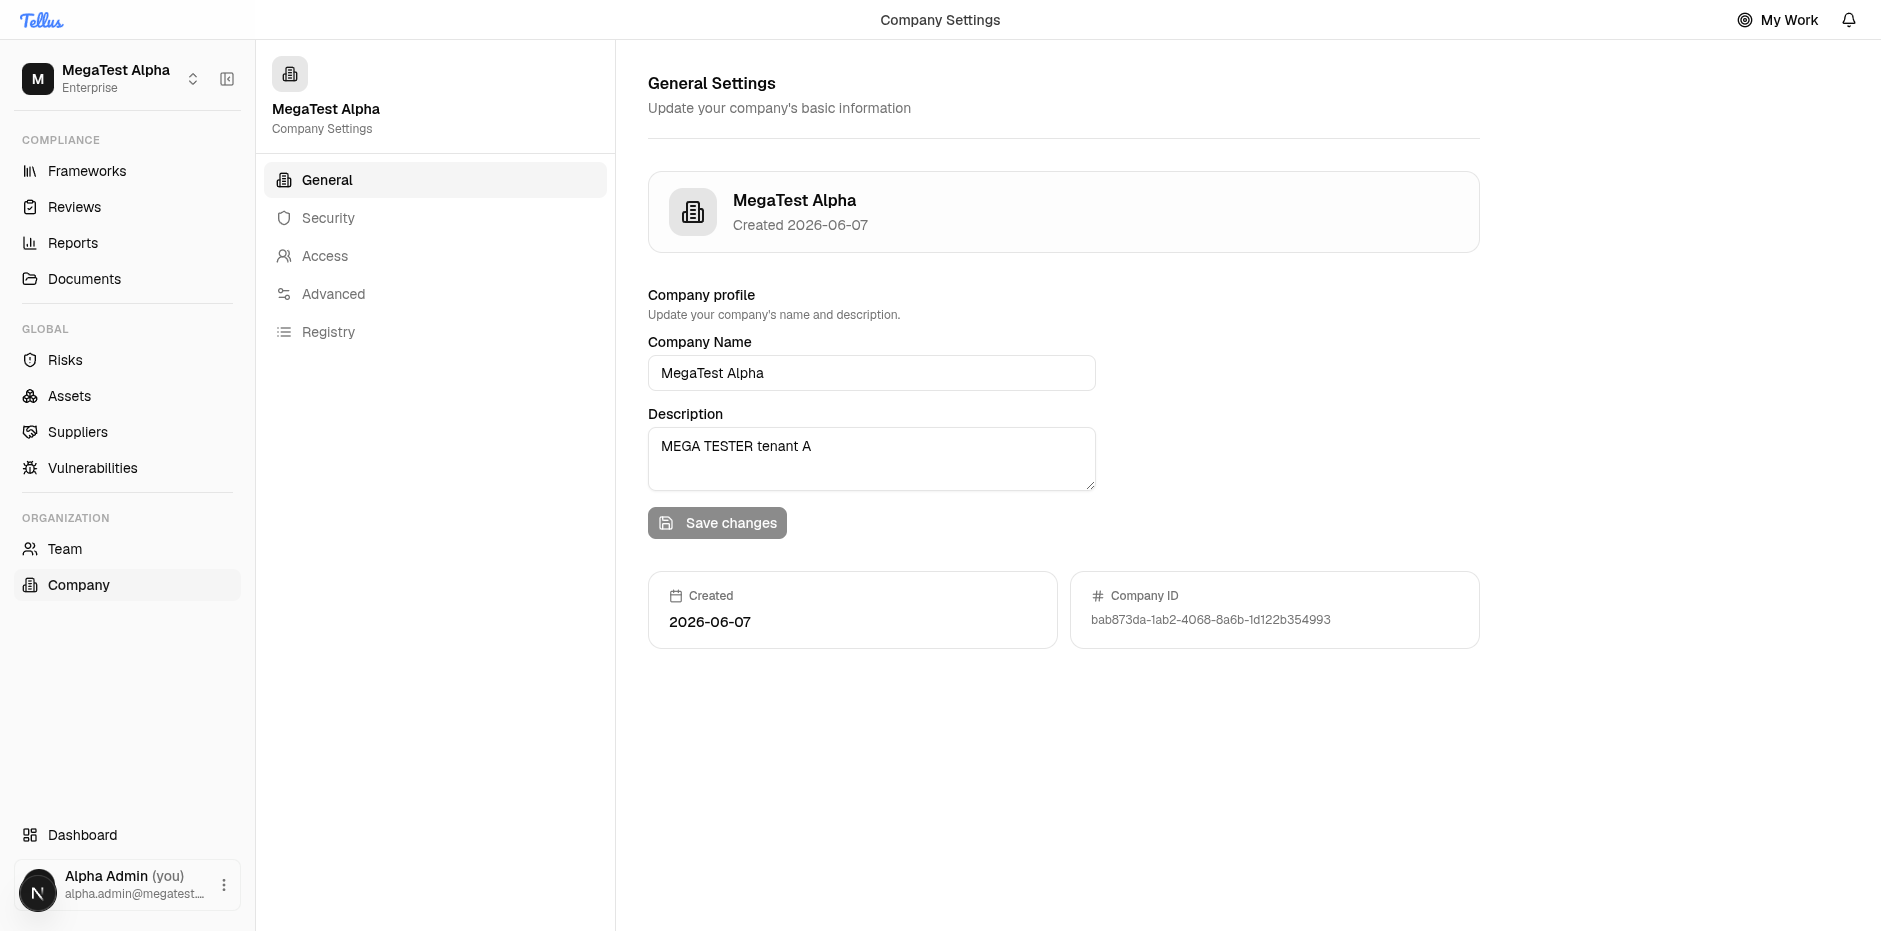
Open company settings (General)
- In the sidebar's Organization group, click Company.
- The General tab opens first. A left menu also lists Security, Access, Advanced, and Registry.
- Update your company name or description in the fields provided.
- Click Save changes to apply your edits. This button activates once you make a change.
The creation date and company ID shown below the fields are read-only and are there for reference.
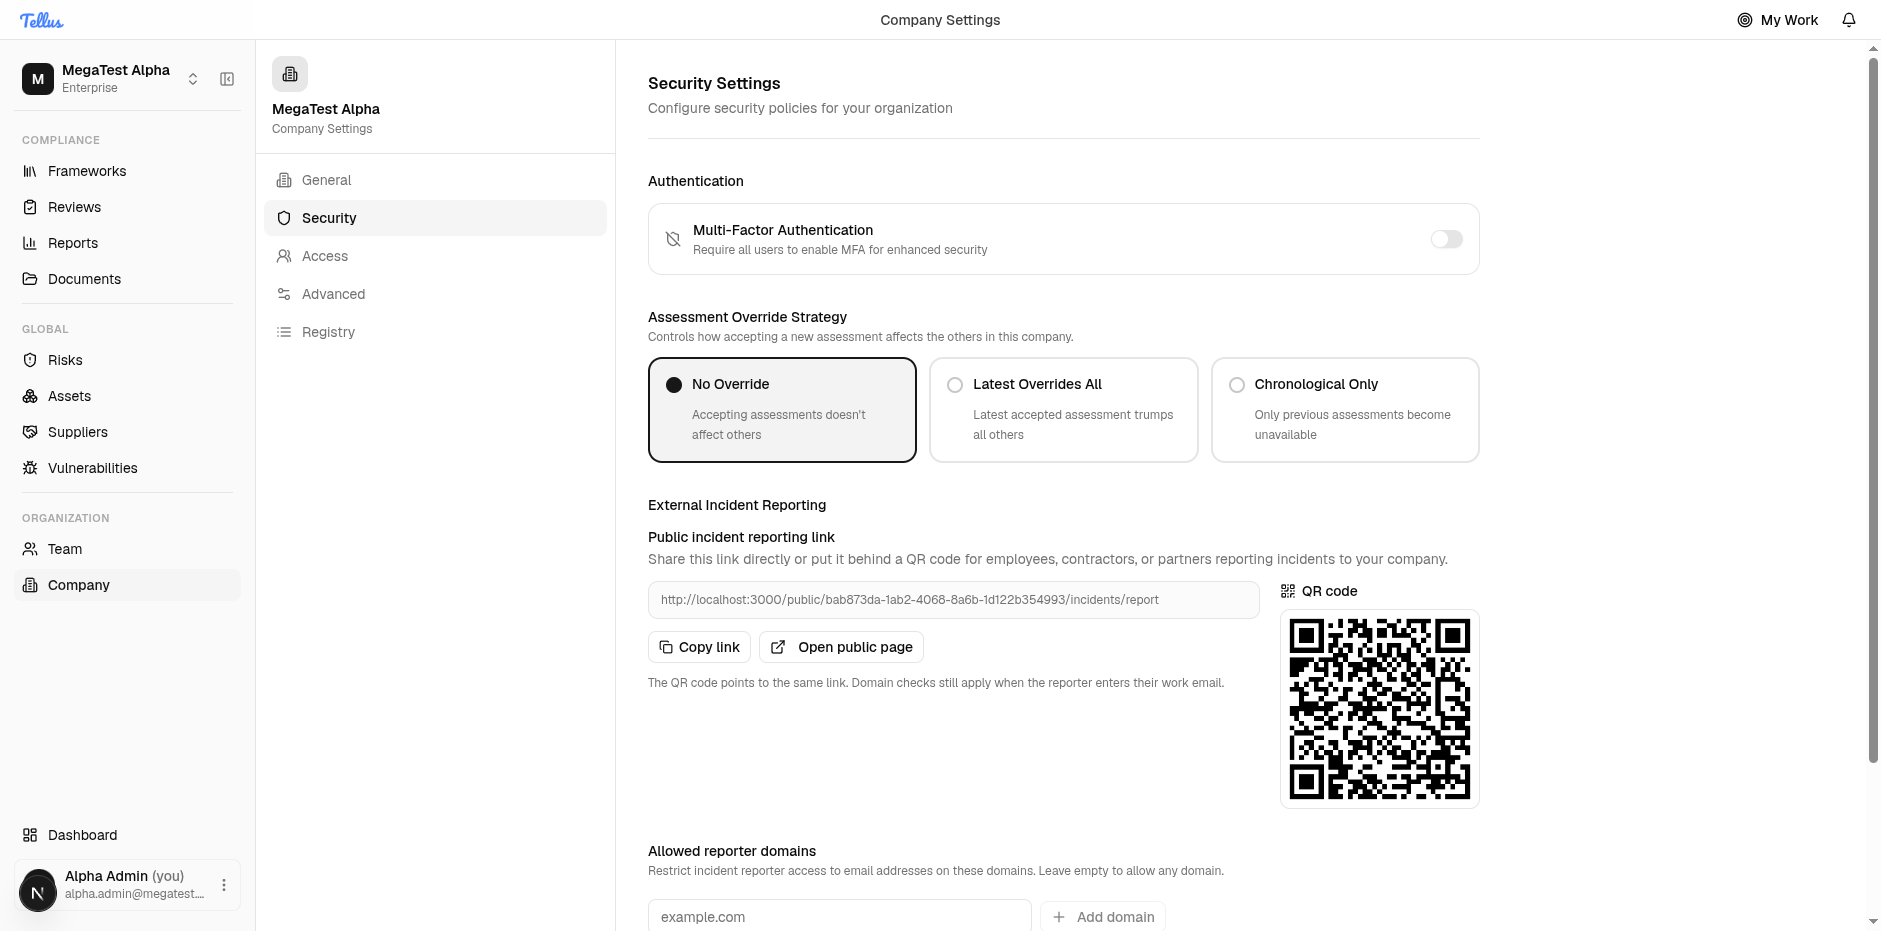
Review company security policies
- From Company Settings, click Security in the left menu.
- Here you can adjust organization-wide policies:
- Toggle Multi-Factor Authentication ("Require all users to enable MFA for enhanced security") to require MFA for everyone.
- Choose an Assessment Override Strategy for how new assessments override older ones.
- Copy or open your public incident-reporting link (a copyable URL with a QR code).
- Restrict which email domains may report incidents using the allowed reporter domains list.
- Toggle the Coordinated Vulnerability Disclosure (CVD) program on or off.
Tip: Changes on this tab apply to the whole company, so review them carefully before saving.