Risks
The Risks area is your company-wide risk register, where every risk is tracked, scored, and reviewed in one place.
The Risks area is your company-wide risk register, where every risk is tracked, scored, and reviewed in one place. Each risk gets an impact-times-likelihood score that places it on a color-coded exposure matrix, and you can assign owners, set review schedules, and link risks to the controls, suppliers, incidents, and other records they relate to. Use it to keep an up-to-date picture of what could go wrong and how each risk is being managed.
Open the risk register
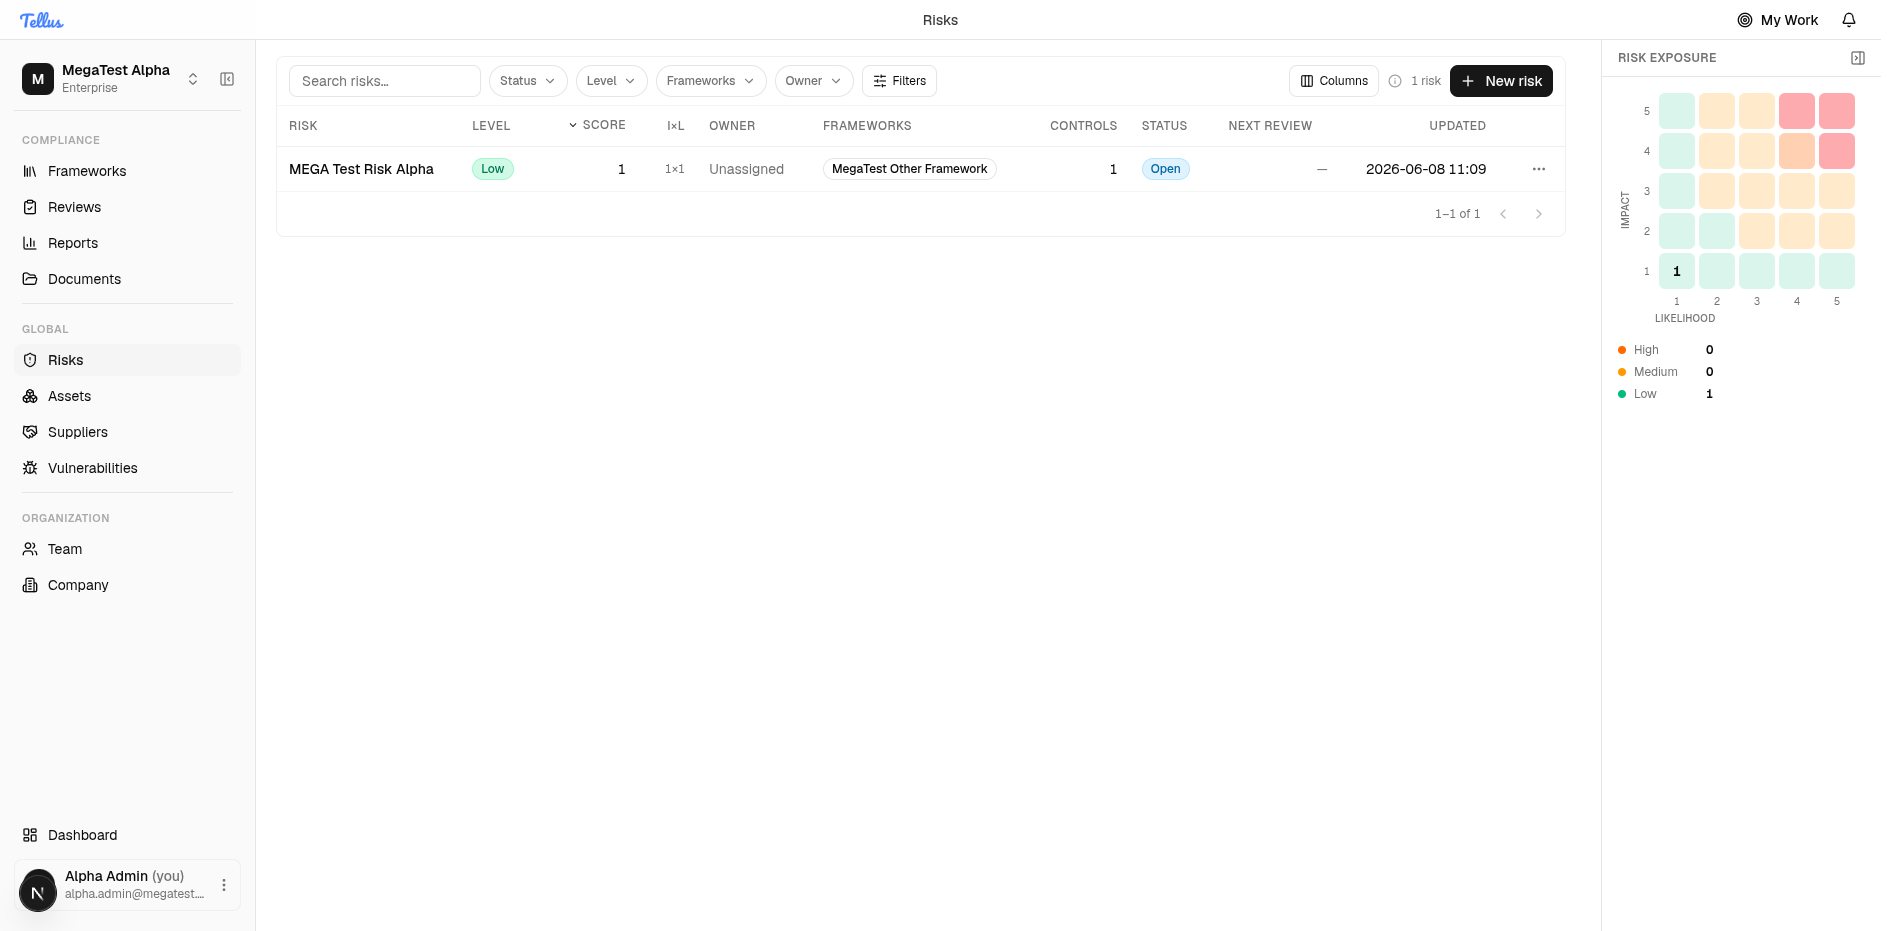
- In the left sidebar, under the Global section, click Risks.
- The page opens as a sortable table listing every risk with its level, score, impact-times-likelihood, owner, related frameworks, linked controls, status, next review date, and last-updated time.
- Use the search box, or the Status, Level, Frameworks, and Owner buttons, to narrow the list.
- Click any column header to sort by that column.
- Glance at the Risk exposure panel on the right to see where your risks cluster by severity. A High/Medium/Low tally sits underneath it.
Tip: Use the Columns button to show or hide columns so the table fits what you care about most.
Open a single risk
- From the register, click any risk row to open it.
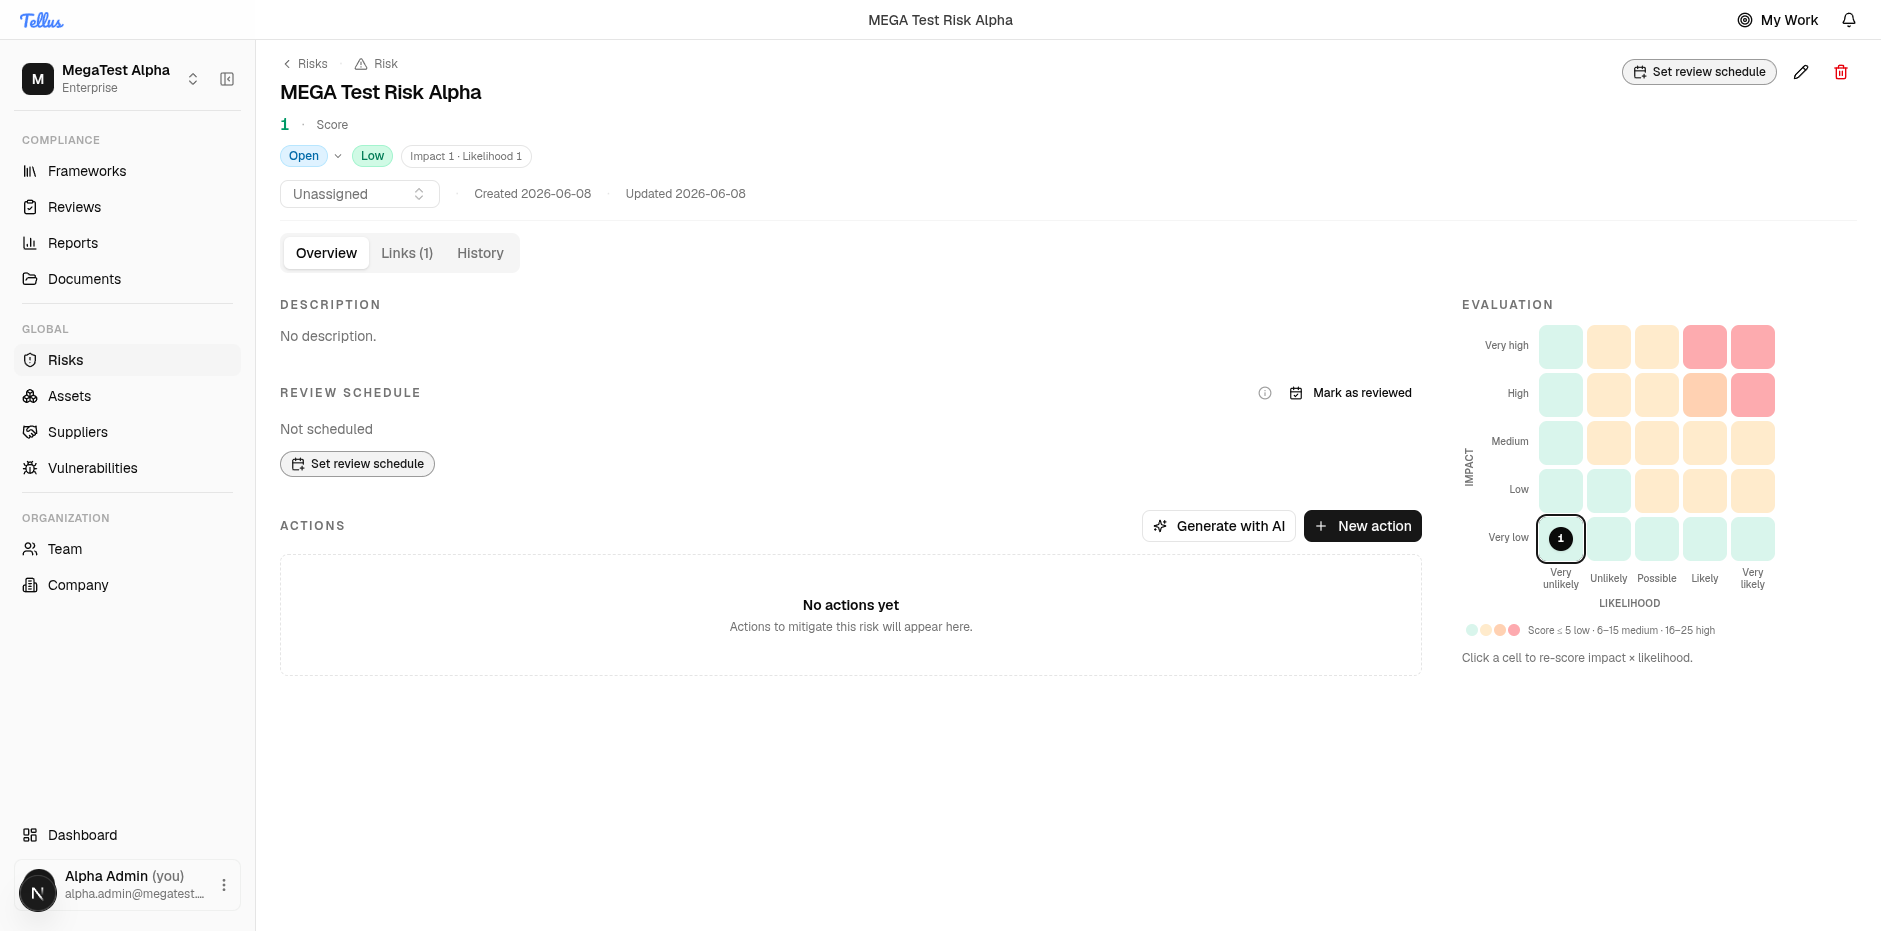
- At the top you'll see the risk title, its score, status, and severity level, along with the owner and the creation and update dates.
- Three tabs are available: Overview, Links, and History.
- On the Overview tab, read the description and review schedule, and add mitigation steps under Actions.
- Re-score the risk at any time by clicking a cell in the Evaluation grid — the current impact-times-likelihood cell is highlighted.
- Use the buttons near the title to change status, assign an owner, set a recurring review, edit details, or delete the risk.
Create a new risk
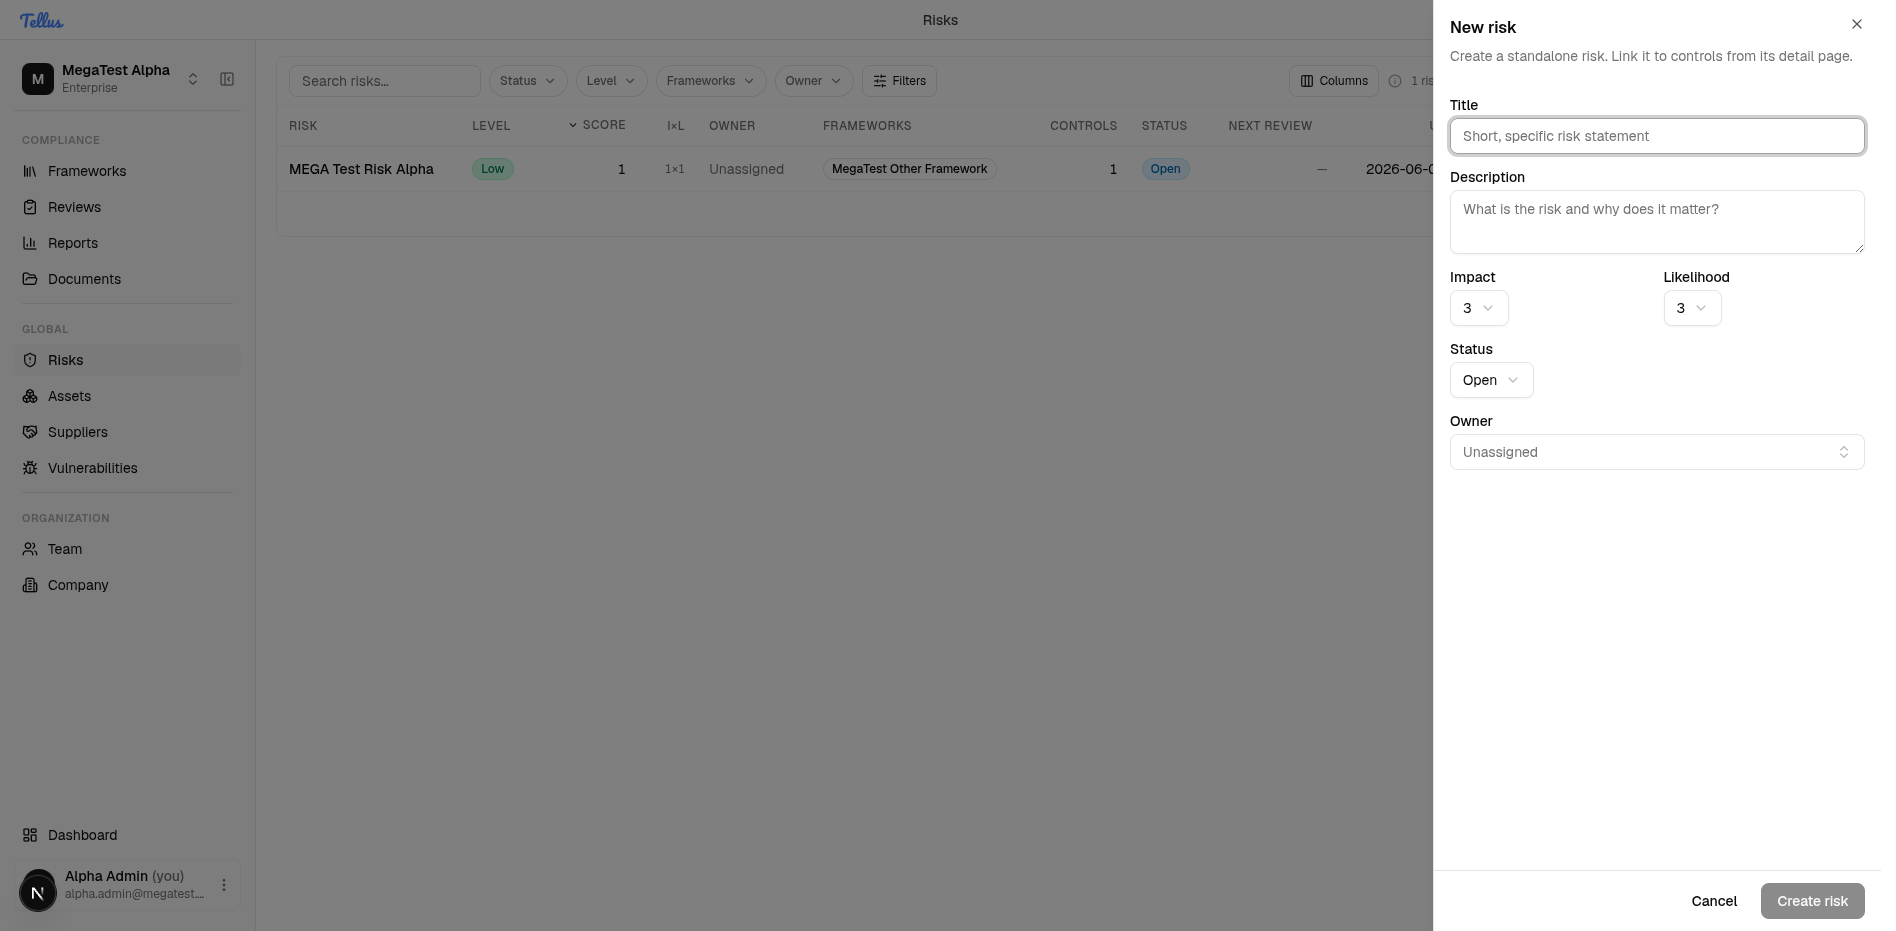
- From the Risks register, click the dark New risk button in the top right.
- Type a short, specific risk statement in the Title field. The Create risk button stays disabled until you enter a title.
- Add a Description explaining why the risk matters.
- Set the Impact and Likelihood (each defaults to 3).
- Choose a Status (set to Open by default) and an Owner (set to Unassigned by default) if you wish.
- Click Create risk.
Tip: You don't have to link anything yet. You can connect the risk to controls and other records afterward from its detail page.
See a risk's linked records
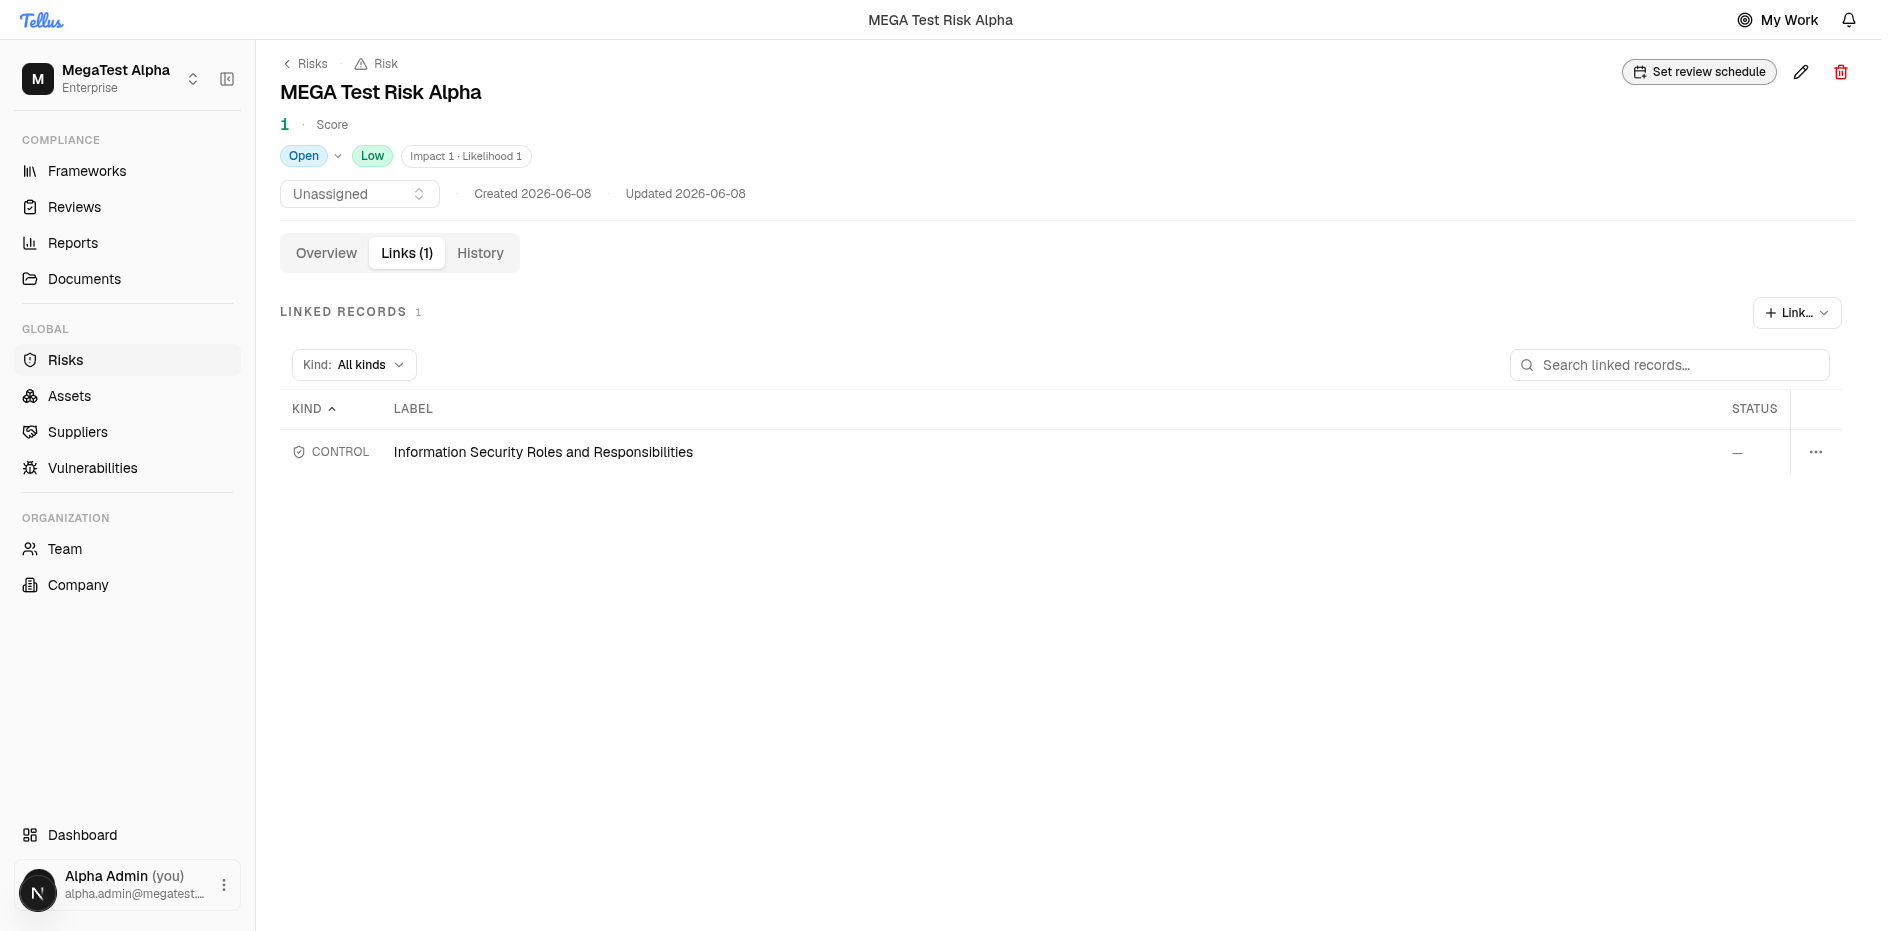
- On a risk's detail page, click the Links tab.
- You'll see a table of every connected record, showing the kind, label, and status of each item.
- Use the Kind filter or the search box to find a specific item.
- To remove a connection, click Unlink on that row.
- To add a new connection, click the Link… button in the top right.
Choose what to link
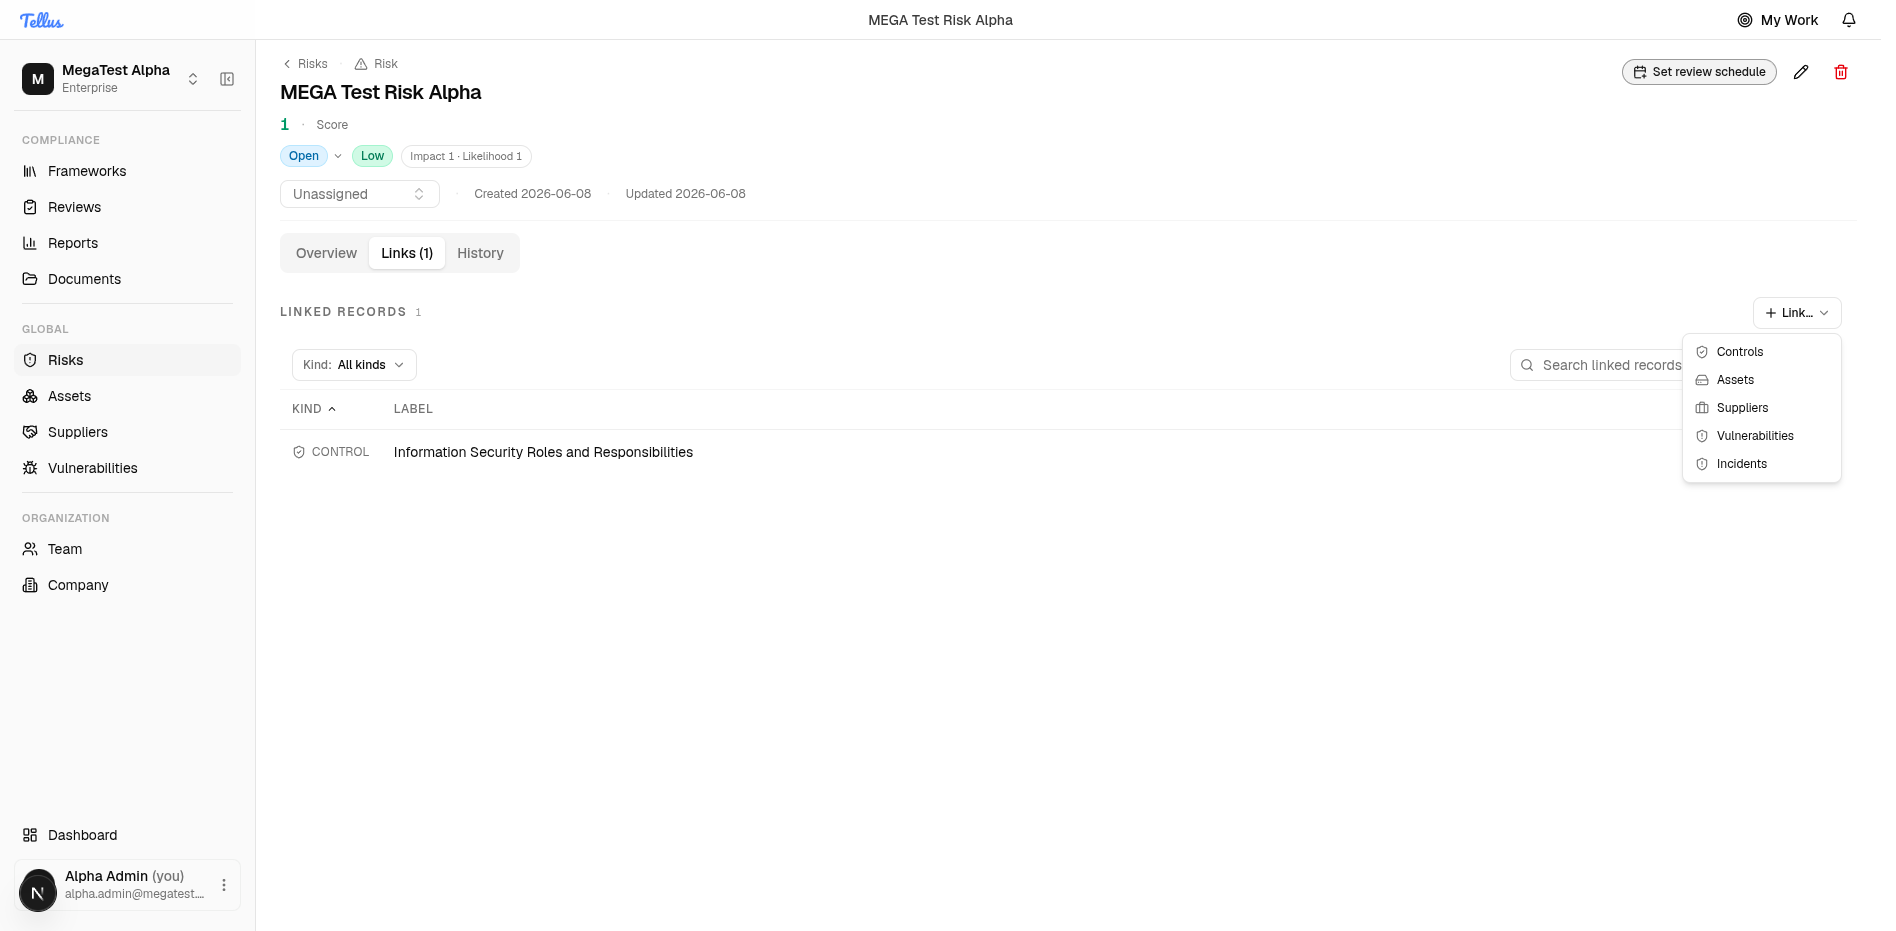
- Click the Link… button.
- A small menu appears with the types of records you can attach to the risk: Controls, Assets, Suppliers, Vulnerabilities, and Incidents.
- Pick the type you want to connect. Each choice opens a picker tailored to that record type.
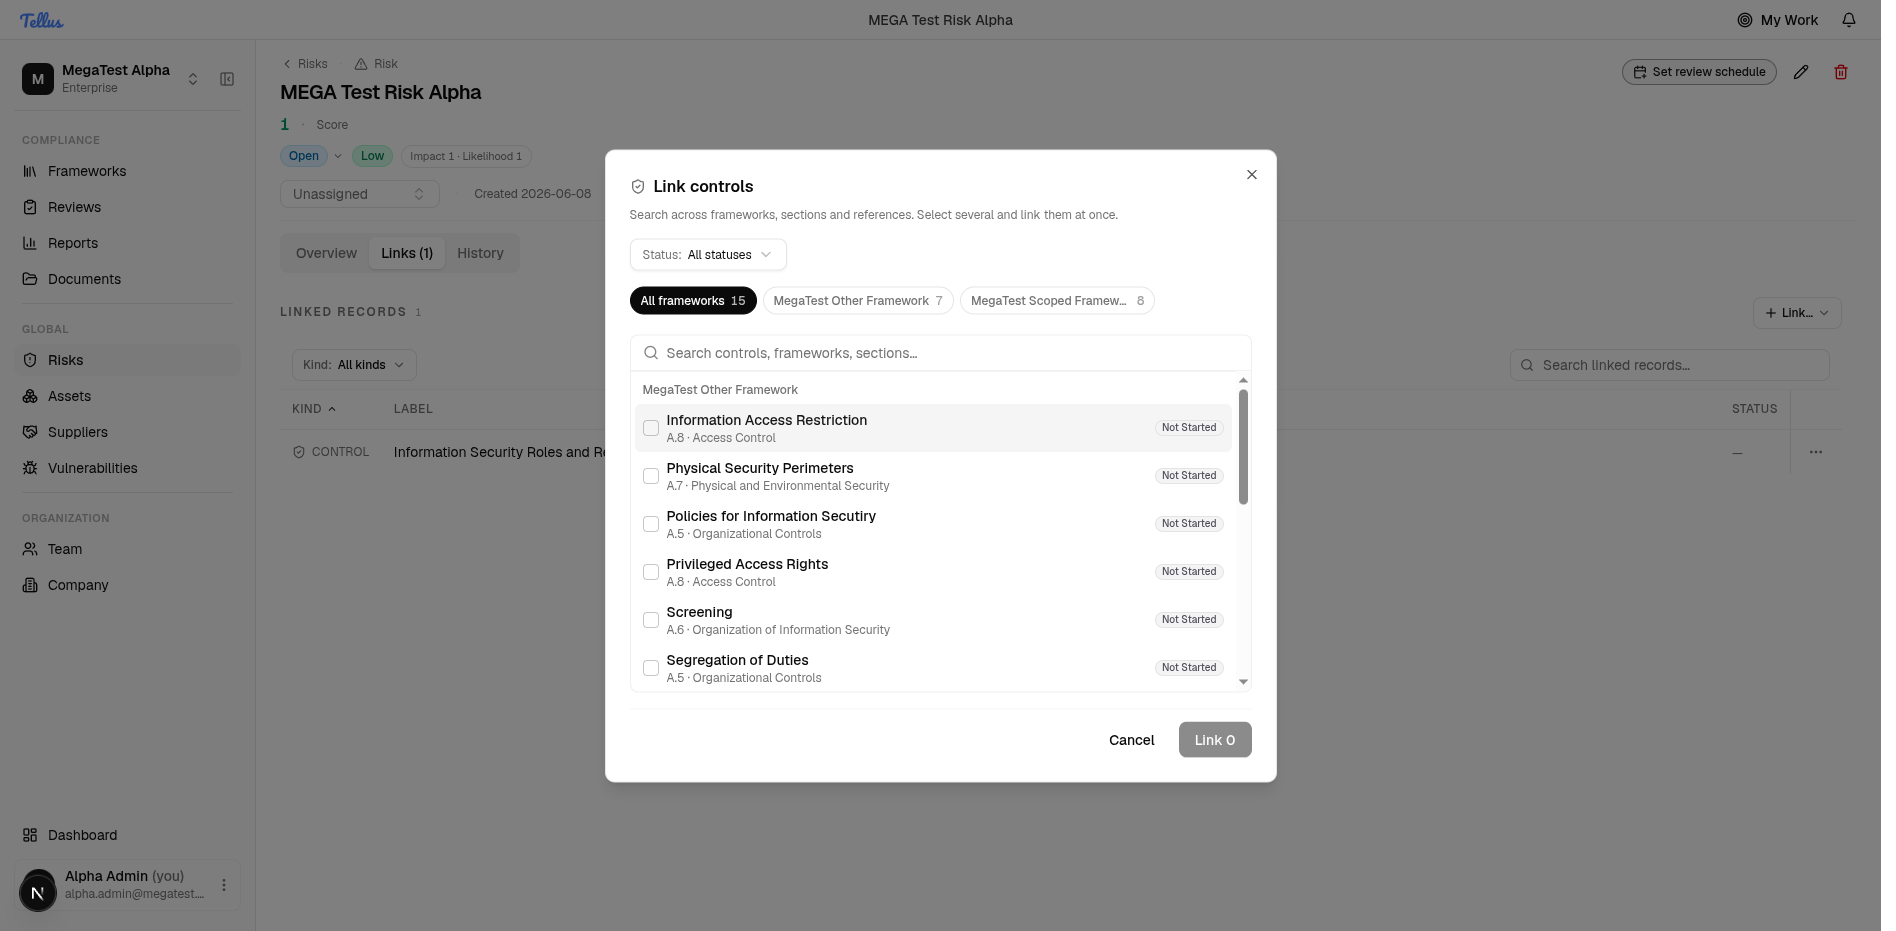
Pick records in the link dialog
- In the picker, use the search box, the framework tabs, or the Status filter to find the records you want. (The example shown is the Link controls dialog, where controls are grouped by framework with their reference and status shown.)
- Click each item to select it. The Link button updates with a running count of what you've selected.
- Click Link to attach everything at once, or Cancel to close without saving.
- The newly linked records then appear on the Links tab.